During your last Zoom meeting, did your laptop’s camera fails to work? In this article, we will show you how to fix a Lenovo laptop camera that is not working. You’ll be back on Zoom soon (for good or for bad).
When a Lenovo Laptop Camera Is Not Working – How to Fix It
The following steps will fix most Lenovo laptop camera problems. It is important to follow the steps in order, as skipping steps could obscure the issue’s cause.
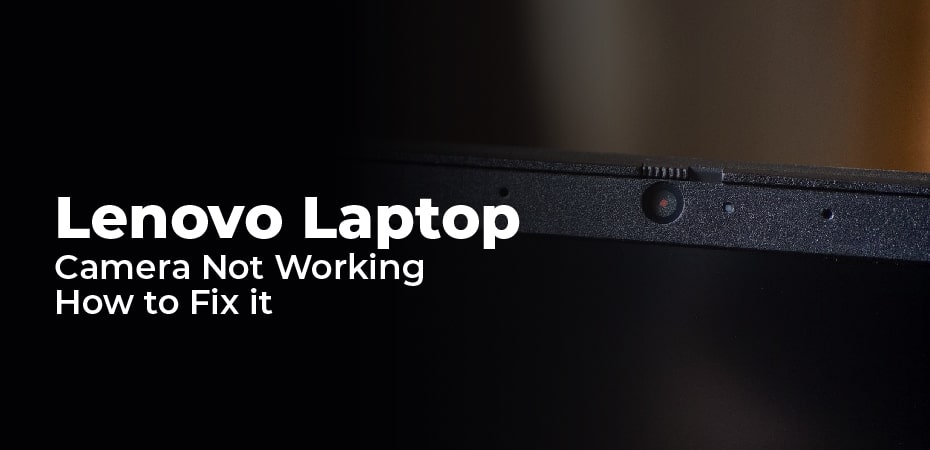
- Turn on your camera – The built-in Lenovo camera lens may be covered or opened by a switch near the camera on newer models of Lenovo laptops (2018 and newer). Any app that uses the camera will show a blank image if it is closed. Make sure your camera is not disabled by checking this switch.
- Make sure the program you’re using with your Lenovo laptop’s camera is set up correctly. In some programs, the camera might not be selected. Zoom might not be configured to use the camera. Lenovo laptop cameras will likely appear as integrated cameras. If it isn’t already selected, choose it as your default camera.
- If conflicts arise, resolve them – Look at your camera to see if it has a light that indicates it is in use. If so, the camera is currently being used by another program. One program can use a camera at a time, so you must close the program currently using the camera before using it in another program.
- Make sure the camera’s privacy settings are set correctly – Type “Camera Privacy Settings” in Windows Search and click the first result. You’ll see several toggle buttons in the menu that appears. Make sure the toggle Allow apps to access your camera is enabled. Make sure the toggle button for the program you want to use with your webcam is set to On.
- Restart your computer – This should resolve any weird bugs or configuration issues. Also, it will close background software that uses the camera, allowing the camera to be used by other apps.
- Verify the camera is working – Launch the Camera app from the Windows search results. Lenovo laptop cameras should detect and display an image if the app detects them, and the problem is with the software you are trying to use. Instead of troubleshooting your Lenovo laptop’s camera, you should troubleshoot the program, such as Zoom or Microsoft Teams.
- Install the latest updates. Windows Update can be used to install any Windows and driver updates that are available. By updating your software and drivers, you will fix any known bugs or configuration issues.
- Check for and install driver updates manually – Please visit Lenovo’s support page. Select the Detect Product option on the PC support page. Lenovo Support Bridge will be downloaded. Launch the tool and use it to check for driver updates. Any available updates, including those that do not pertain to the camera, should be installed, and the laptop should be restarted.
- The camera should be reinstalled manually – Open Device Manager by performing a Windows search. In the list of devices, expand the Cameras category. Select Uninstall Device by right-clicking on Integrated Camera. Check the box next to Delete Driver Software. Click the Action menu at the top of the window. Click Scan For Hardware Changes to open it. You should see the Integrated Camera appearing again.
If you still have problems with the camera on your Lenovo laptop, follow the instructions above. Unless the problem is fixed, the camera likely has a hardware defect. Lenovo support can help you troubleshoot and repair the camera. Consider using an external webcam if you need a camera sooner rather than later.


